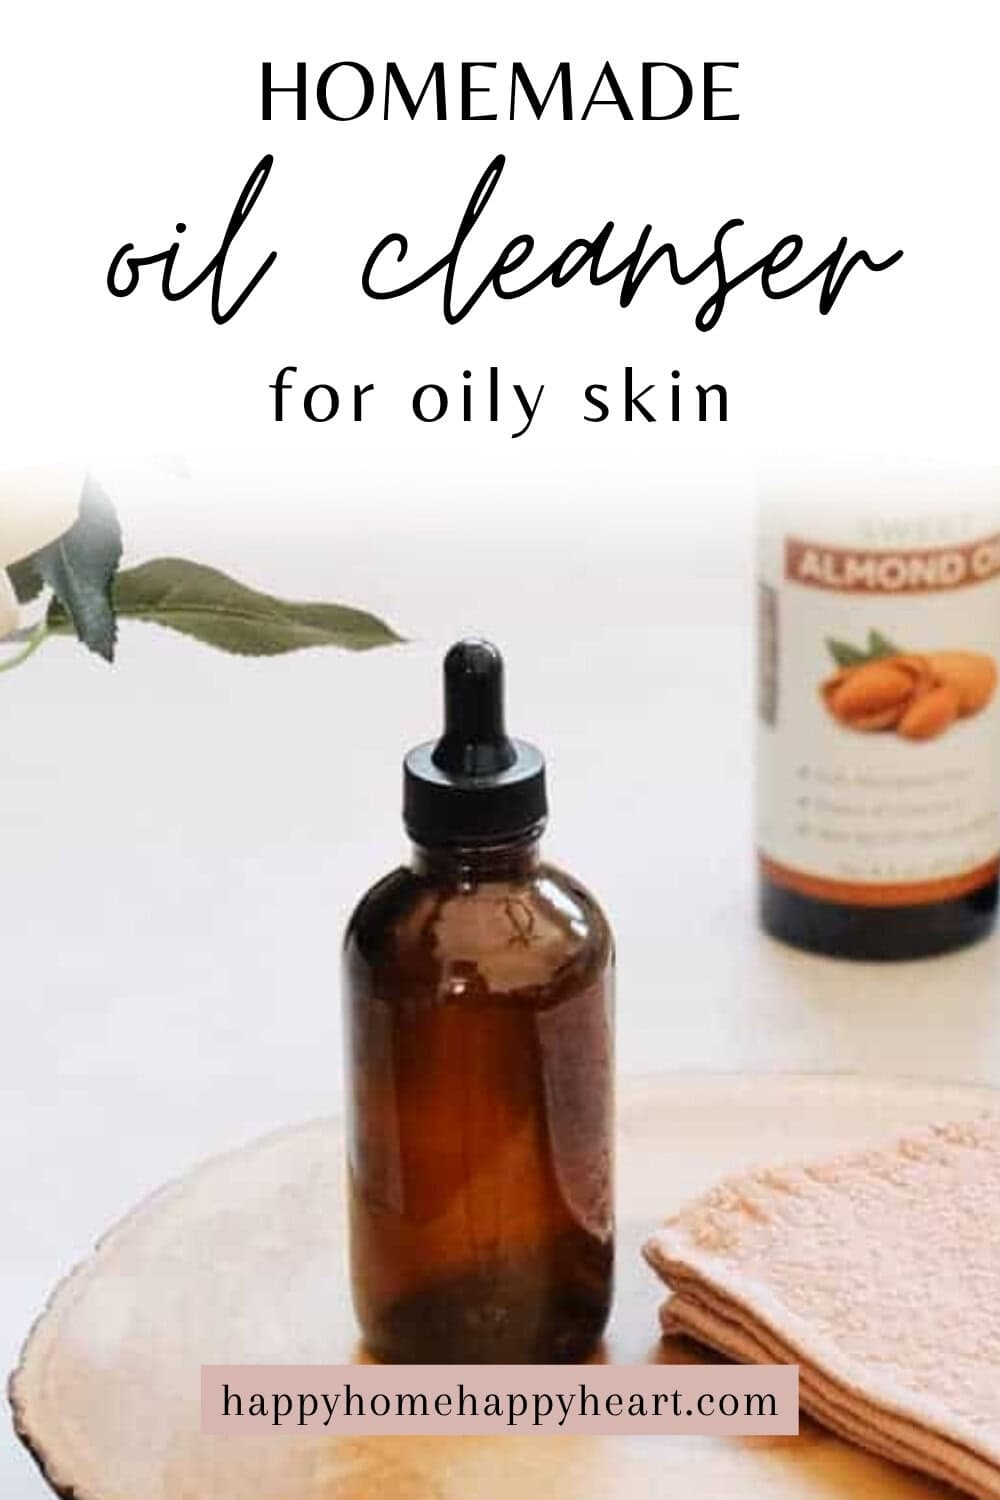
DIY Oil Cleanser For Oily Skin
♥ May contain affiliate links or sponsored content. Please see my privacy policy and affiliate disclosure.
Want to completely eliminate your oily skin? Try this DIY oil cleanser for oily skin. It completely transformed my skin and it’s 100% natural!

I am a huge fan of the oil cleansing method. I’ve been doing the oil cleansing method for a few years now, and my skin has never looked better.
And ever since I posted the ultimate guide to oil cleansing, I’ve been getting a lot of requests to share my personal oil cleansing recipe that I use almost daily, which has completely eliminated my oily skin.
So I thought I would go ahead and share the recipe. However, before I proceed, I would like to provide a few disclaimers.
First of all, oil cleansing doesn’t work for everyone. For some people, it can actually make their skin worse.
If you’re brand new to oil cleansing, I highly recommend reading my oil cleansing guide to determine if it’s right for you.
Additionally, it can take 30 days or more to see a significant improvement in your skin, and your skin may go a little haywire as it adjusts to this new way of cleansing if you’ve never done it before.
I personally never experienced any significant adverse side effects when I transitioned to the oil cleansing method, but I’ve definitely heard stories from people who have.
I would be extra cautious if you struggle with cystic acne. The oil cleansing method has been known to exacerbate the condition, but it has also been known to heal it completely. So just keep that in mind.
There is also considerable debate about whether the oils used in the oil cleansing method actually cleanse the skin.
Some dermatologists say they don’t at all, while others say they do. So who’s right?
To be honest, I’m not sure. However, what I do know is that the oil cleansing method has completely transformed my skin for the better.
I dealt with excessively oily, blackhead-prone skin for over 10 years. I also had very large pores.
Before trying the oil cleansing method, I had tried absolutely everything, and nothing worked!
The oil cleansing method completely fixed my skin. No more blackheads, and I rarely get pimples. My skin is completely in balance. Not too oily, not too dry.
And one last thing—this recipe is specifically designed for oily skin, as indicated by the title. Not dry skin. Not acne-prone skin. If your skin is anything other than oily, this oil cleanser may not be suitable for you.
I recommend reading my oil cleansing guide to find oil recommendations tailored to your specific skin type.
Okay, on to the recipe!
DIY Oil Cleanser Ingredients
To make this DIY cleanser for oily skin, you’ll need the following ingredients and supplies.
Container
You’ll need a container to store your DIY face cleanser. I use a 4-oz glass dropper bottle.
It’s essential always to use dark glass containers to store your essential oil DIY products.
The bottle needs to be dark because sunlight can damage the oils.
The bottle should be made of glass because pure essential oils are very potent, and plastic may begin to deteriorate and leach into the oil cleanser.
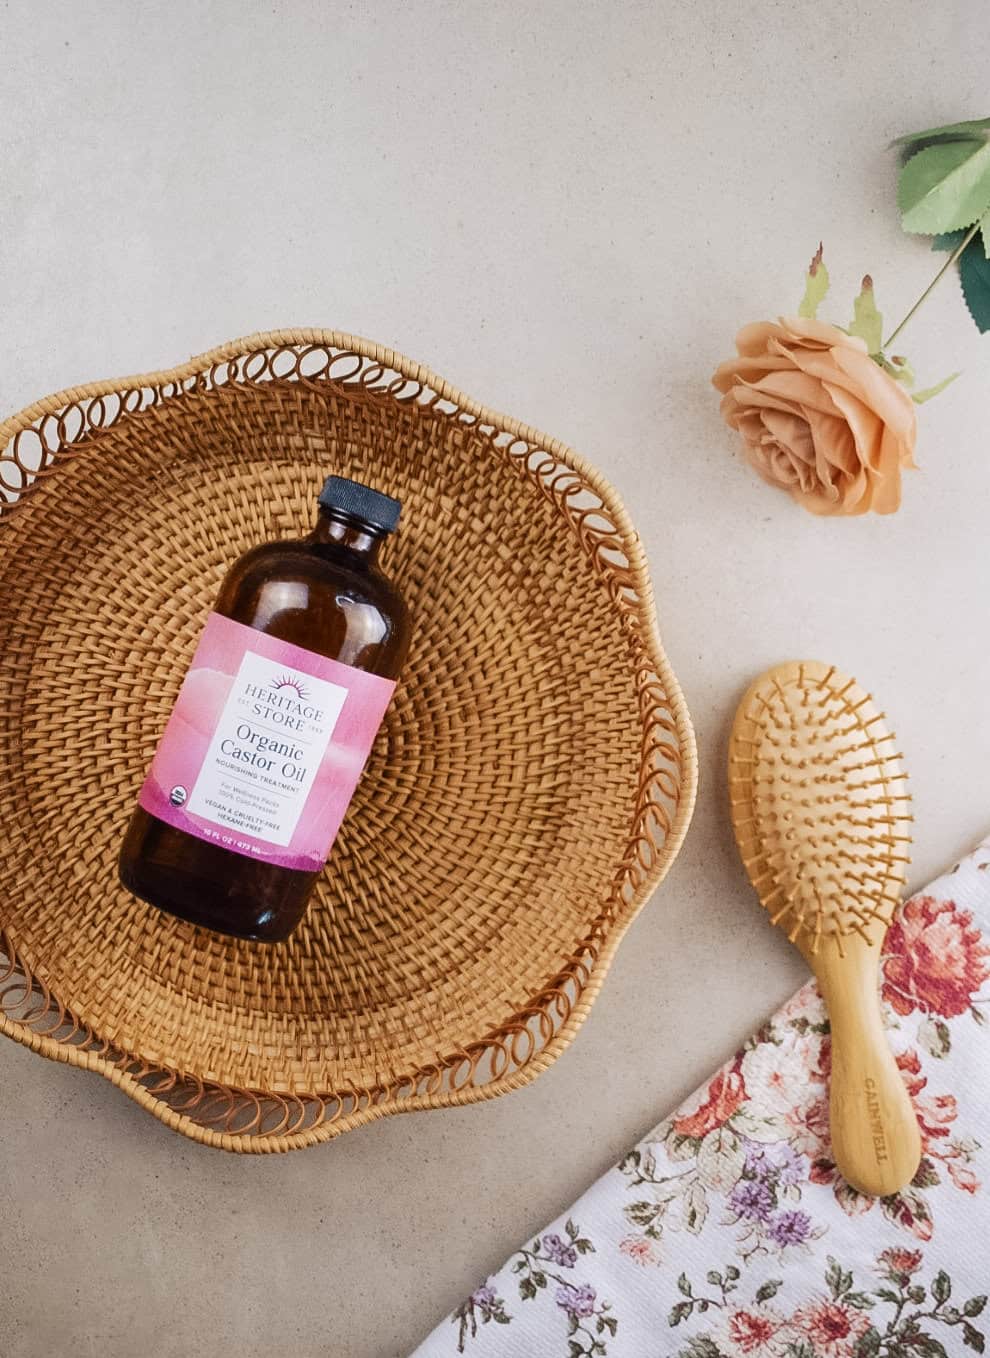
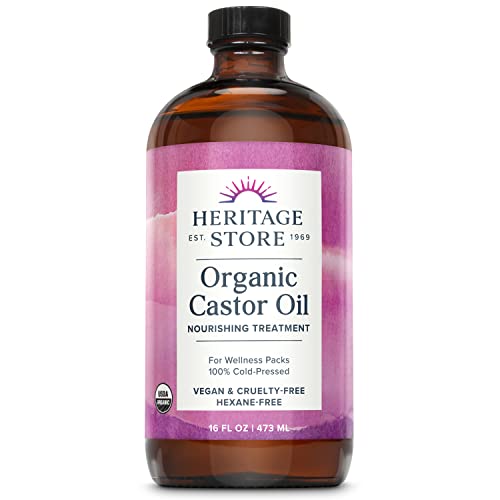
Castor Oil
Castor oil is one of my absolute favorite oils! It is an incredibly healing oil that can be used for so many different things.
I recommend reading this article, Amazing Benefits of Castor Oil + Over 15 Castor Oil Uses, and this article, Castor Oil Pack Benefits + How To Make & Use Them to learn all about it.
Castor oil is rich in antioxidants and offers numerous skin benefits. It is also extremely moisturizing.
This is my favorite castor oil.
Sweet Almond Oil
Sweet almond oil is a nourishing, lightweight oil that offers a variety of benefits for the skin. Rich in vitamin E and fatty acids, it deeply moisturizes dry or flaky skin while absorbing quickly without leaving a greasy residue.
Its gentle, anti-inflammatory properties make it ideal for soothing irritation and calming sensitive skin.
Rosemary Essential Oil
Rosemary essential oil offers several skin benefits, thanks to its anti-inflammatory, antimicrobial, and antioxidant properties.
Rosemary oil helps fight acne-causing bacteria and reduces excess oil production. Its anti-inflammatory effects can also soothe redness and swelling associated with breakouts.
It stimulates blood flow when applied topically (with a carrier oil), which can promote a healthy glow and support skin regeneration.
Tea Tree Essential Oil
Tea tree essential oil is renowned for its potent antimicrobial and anti-inflammatory properties, making it particularly beneficial for sensitive and problem-prone skin.
Tea tree oil is one of the most popular natural remedies for acne. It kills acne-causing bacteria, helps unclog pores, and reduces inflammation, making breakouts less red and painful.
It can help balance oil production and reduce shine without overly drying the skin, which makes it especially helpful for those with oily or combination skin.
Choosing the Best Carrier & Essential Oils
When purchasing carrier oils, make sure they are of the highest quality. Use 100% pure, organic, cold-pressed, unrefined, hexane-free carrier oils whenever possible.
When choosing your essential oils, make sure they are 100% pure.
There are many essential oil companies that sell high-quality essential oils. I used to use Young Living oils exclusively, but I just couldn’t afford to use them anymore.
I was pleasantly surprised to discover several brands that sell amazing, high-quality essential oils at very affordable prices.
I currently use essential oils from several different essential oil companies. I love Simply Earth, Plant Therapy, and Far & Wild essential oils.
If you decide to buy from Simply Earth, you can use the code HAPPYHEARTFREE at checkout to receive a free $45 Simply Earth gift card with the purchase of your first recipe box.

If you order now with the code above, you will receive the recipe box, a big bonus box, plus a $45 Simply Earth gift card, all for $29.99 (new customers only)!!!
If you are unfamiliar with Simply Earth or their recipe box, you can check out previous boxes here.
Homemade Oil Cleanser Recipe
To create this homemade oil cleanser for oily skin, simply add the following ingredients to your container.
- 3oz Castor Oil
- 1oz Sweet Almond Oil
- 8 drops Tea Tree Essential Oil
- 8 drops Rosemary Essential Oil
Attach the lid and shake gently to blend the ingredients.
DIY Oil Cleanser For Oily Skin

Want to completely eliminate your oily skin? Try this DIY oil cleanser for oily skin. It completely transformed my skin, and it’s 100% natural!
Ingredients
Materials
Instructions
- Add 8 drops of tea tree essential oil to the bottle
- Add 8 drops of rosemary essential oil
- Add 3 ounces of castor oil
- Add 1 ounce of sweet almond oil
- Attach the lid
- Shake gently
Recommended Products
As an Amazon Associate and member of other affiliate programs, I earn from qualifying purchases.


How to Use DIY Oil Cleanser For Oily Skin
To use this oil cleanser, just add about a dropper full of the oil cleansing mixture to your hands and gently massage it into the skin.
Work it gently into the skin for a few minutes.
Then you’ll want to get a clean washcloth wet with hot water, ring it out, and drape it over your face to allow the steam to loosen up the dirt and bacteria.
Once the washcloth has cooled, gently wipe it across your face to remove the oil. Make sure to remove ALL the oil.
If you have a lot of makeup on, you may need to repeat this process 2 or 3 times.
The first few times are just to remove the makeup, and the last time is actually to cleanse the skin.

How to Properly Store DIY Oil Cleanser
This homemade oil cleanser should be stored in an airtight (preferably glass) container. It does not need to be refrigerated, but storing it in the refrigerator will extend its shelf life.
Always ensure your hands are clean before using this homemade face cleanser, and never allow water to get into the bottle in which it is stored.
This will prevent the oil cleanser from being contaminated with harmful bacteria.
When Will this Homemade Oil Cleanser Expire?
If you follow the directions above and prevent harmful bacteria from contaminating the oil cleanser, it should be safe to use for at least six months to one year.
Keep in mind that this assumes all the ingredients used are fresh. If they are not fresh, then this face cleanser will expire when the ingredients you used reach their expiration date.
For example, if you use castor oil that has a 60-day expiration date, then your oil cleanser will also expire in 60 days.
A Few More Things
If this oil cleanser dries out your skin or makes it more oily, you may want to adjust the amount of castor oil. Reduce it if your skin gets too dry and increase it if your skin gets more oily.
However, please note that it may take up to 30 days or more for your skin to adjust to this cleanser fully.
I really hope this DIY oil cleanser works for you. I was super hesitant about sharing this recipe because what works for me might not work for you. But I really, really hope it does!!!!
Let me know in the comments below if it works for you 🙂